
ホームボタン・スタートページの変更
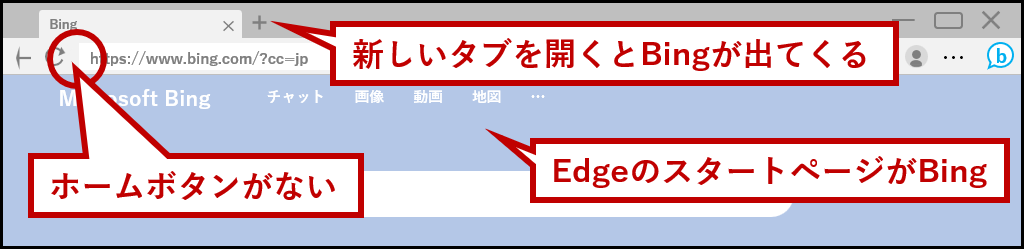
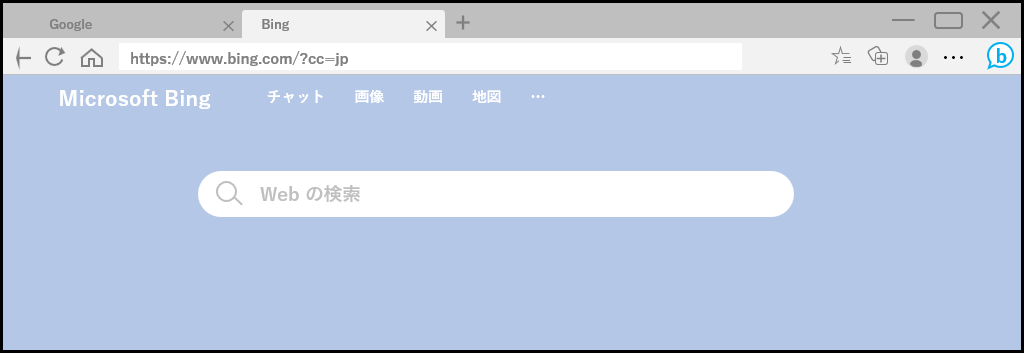
Edgeは初期設定だとホームボタンがなく、起動時にBingが開く仕様になっている。
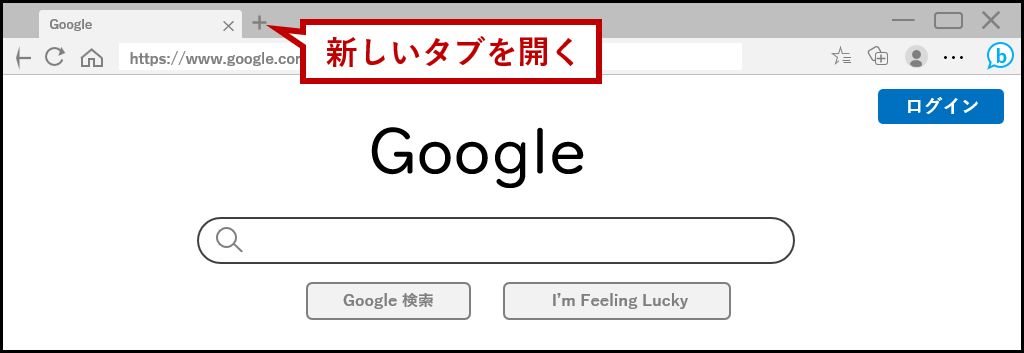
また「新しいタブ」を開いた時に出てくるのもBingだ。
今回はこのページを変更する方法を解説。
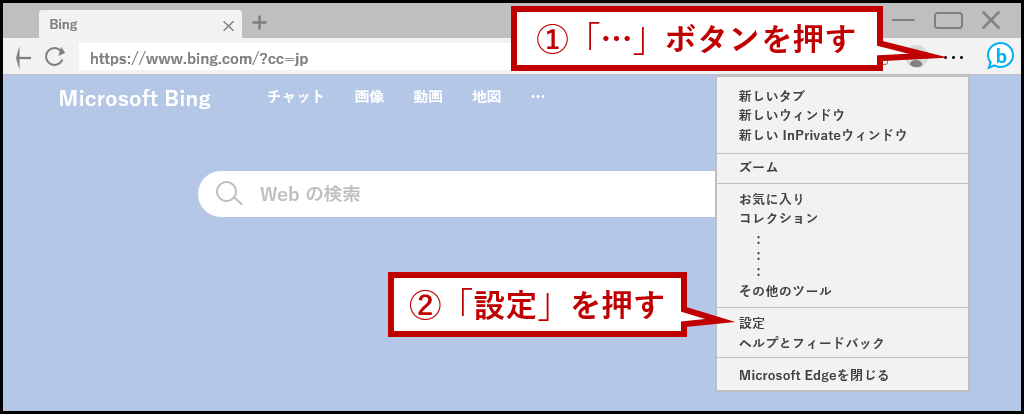
まず「…」から「設定」を開こう。
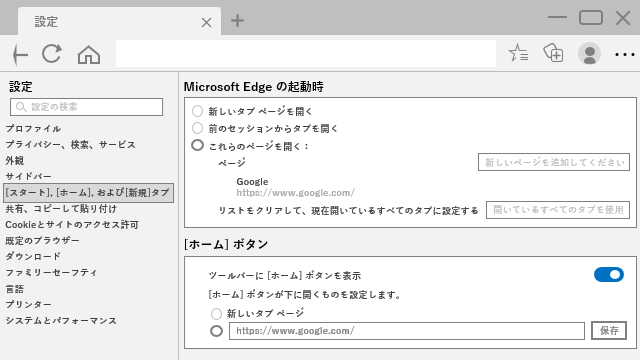
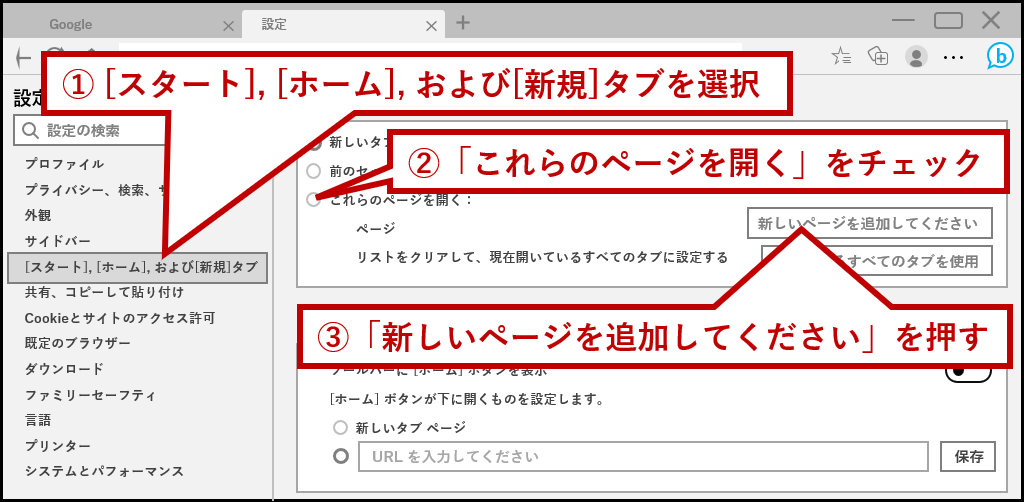
左画面で「[スタート], [ホーム…」を選択。
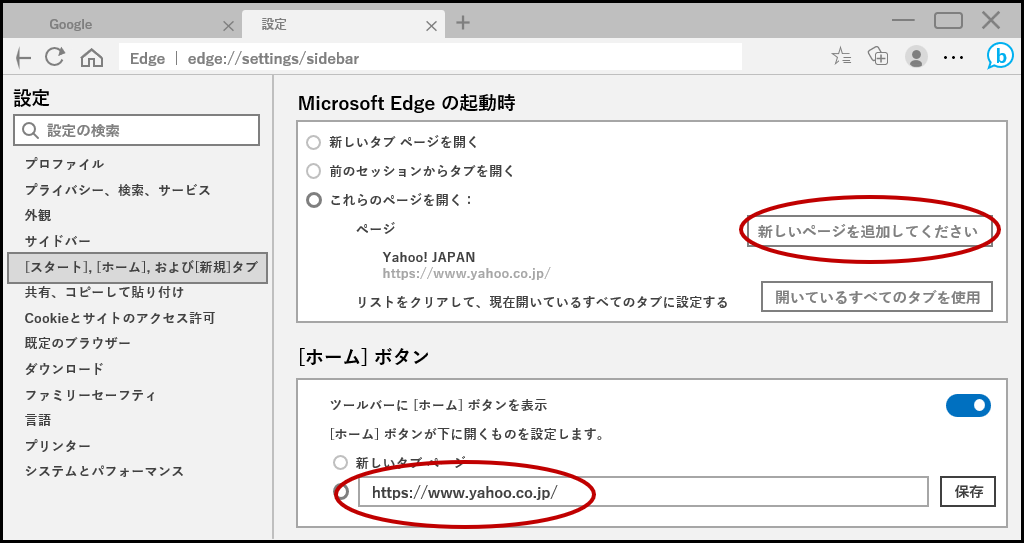
右画面で「これらのページを開く」にチェックを入れ「新しいページを追加してください」と書かれたボタンを押す。
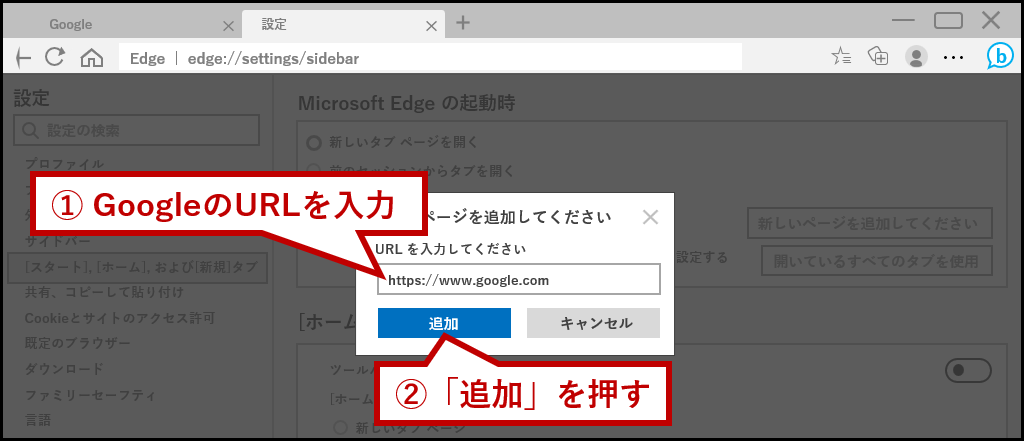
Edge起動時に開きたいページURLを入力。
ここではGoogle(https://www.google.com)を指定する。
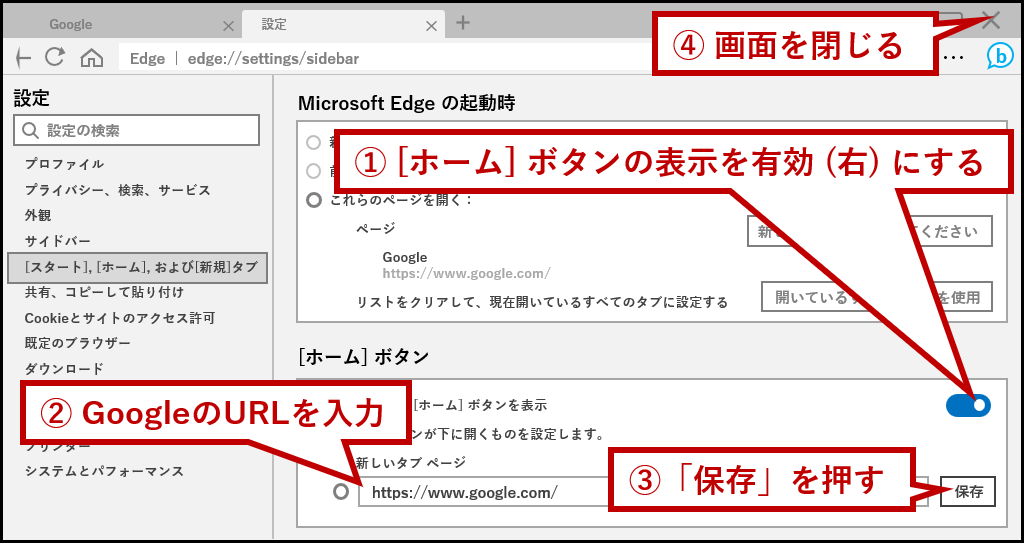
ついでにホームボタンの表示設定と、そのURLも入力してしまおう。
[ホーム] ボタン表示を有効にし、URLを入れて「保存」を押す。
保存できたら一度「×」で画面を閉じる。
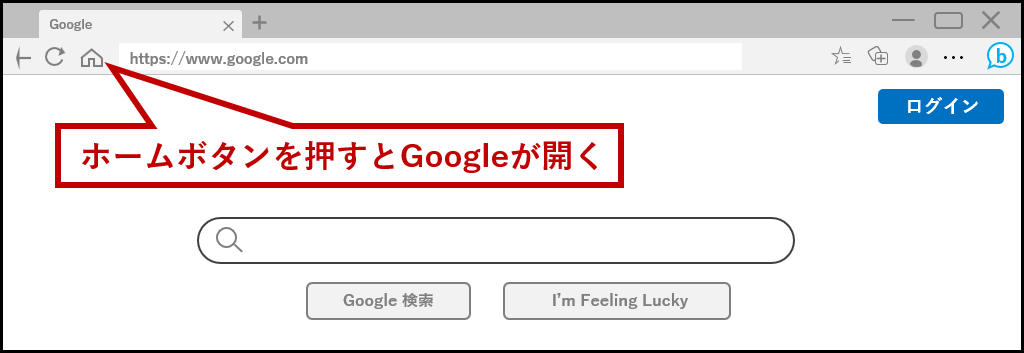
再度Edgeを立ち上げた時、BingではなくGoogleが開いたら成功だ。
一応ホームボタンの動作も確認しておこう。
ただしこのままでは「新しいタブ」を押してもBingが開く。
残念ながらEdgeの標準設定ではこの動きは変えられない。
この動作を上書きするには拡張機能を使う必要がある。
拡張機能を設定
スマホの場合、アプリを入れて機能を増やすことができるが、
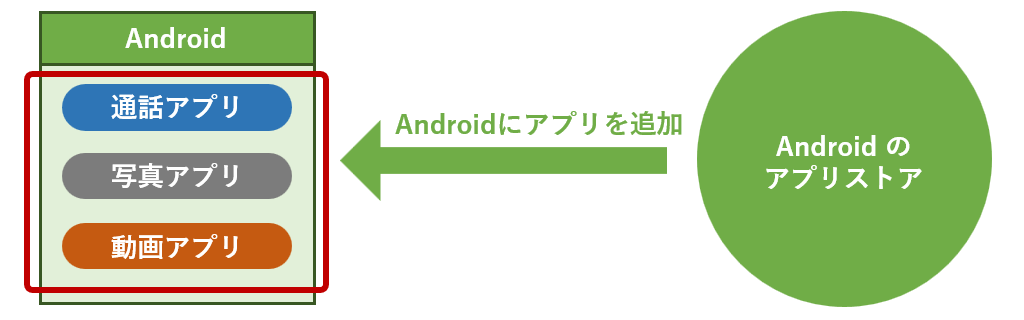
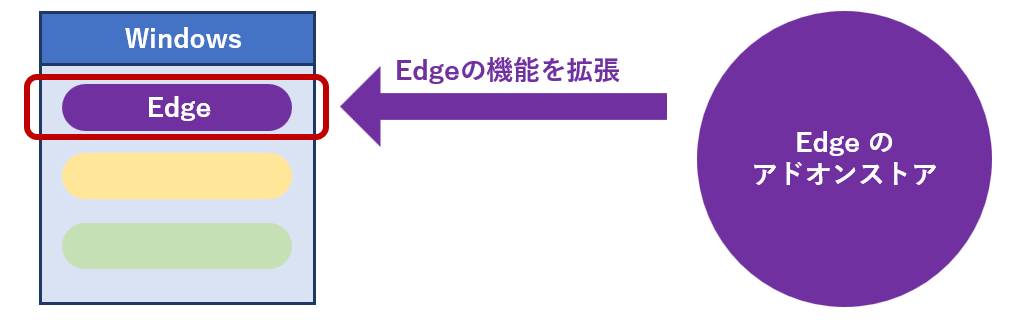
ここで言う拡張機能はこれのEdge版だと思ってくれれば良い。
Microsoftが運営するサイトに、クリエイターが作ったEdge用の拡張プログラムが公開されているので必要な物をインストールしよう。
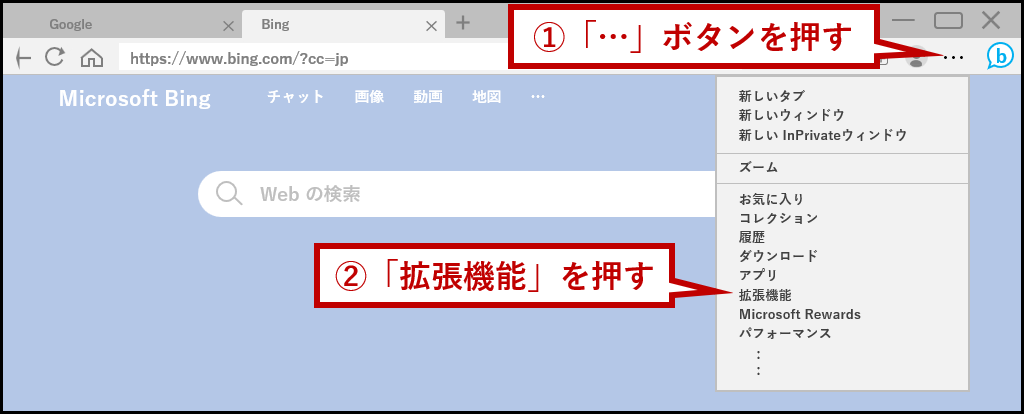
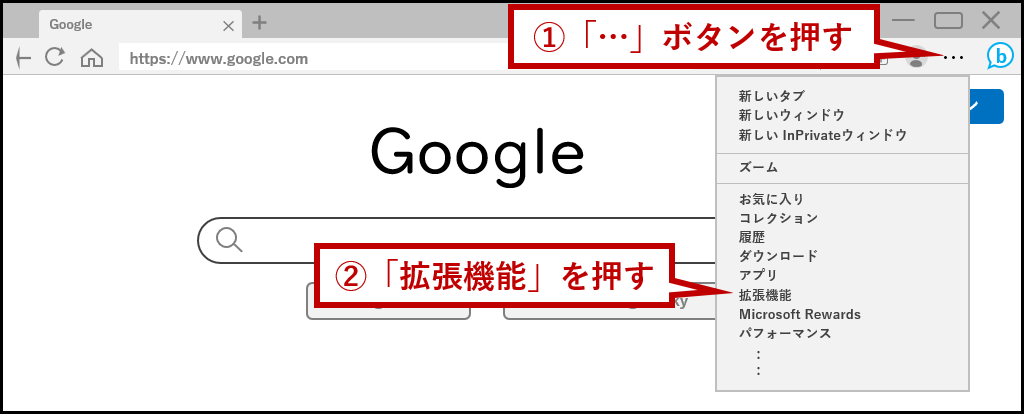
まずは「…」から「拡張機能」を押す。
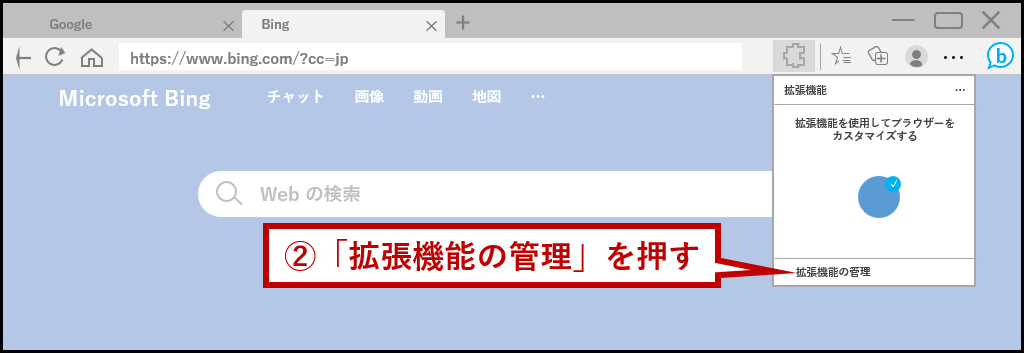
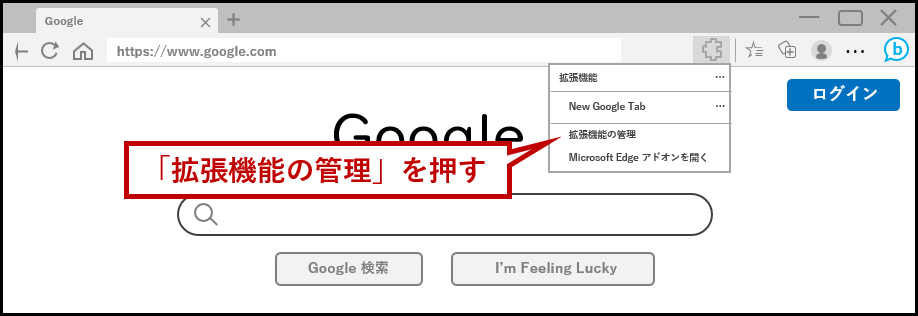
ポップアップが出るので「拡張機能の管理」を押す。
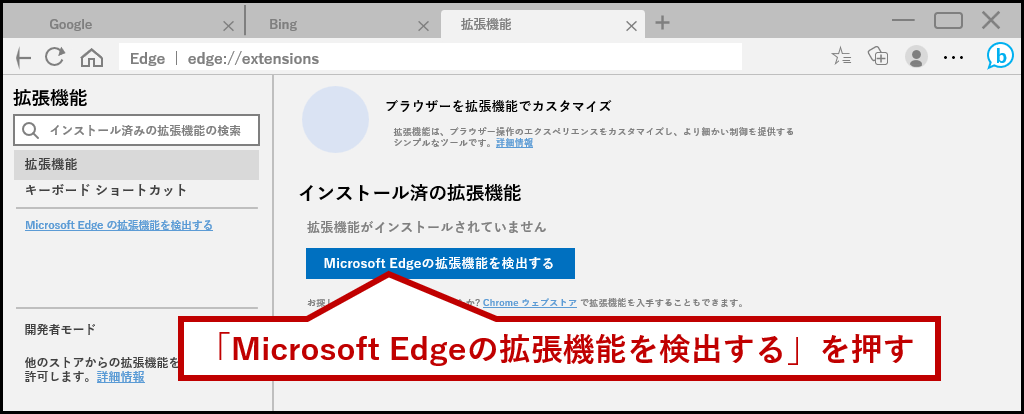
「Microsoft Edgeの拡張機能を検出する」を押す。
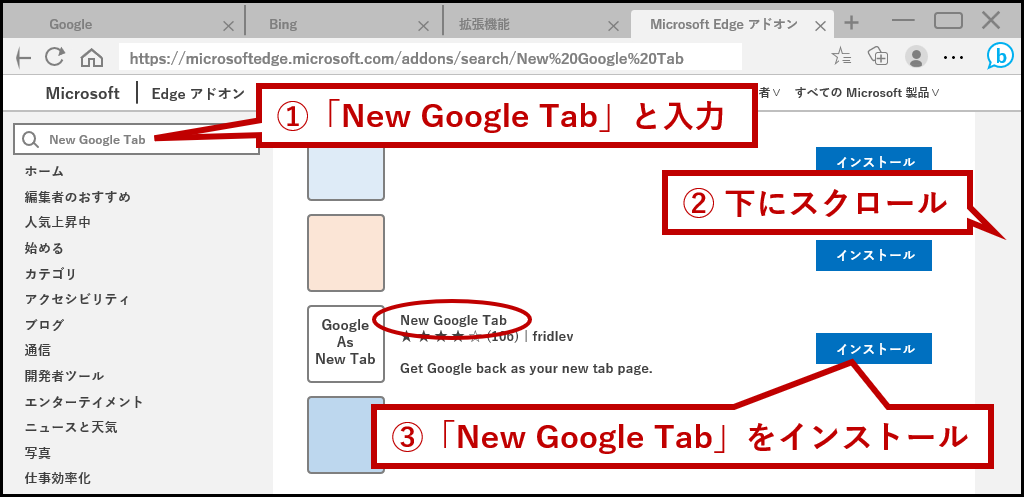
今回は「New Google Tab」というアドオンを使うことにするが、登録等の手続きは必要ないしもちろんインストールは無料だ。
左の検索ボックスに「New Google Tab」と入れよう。
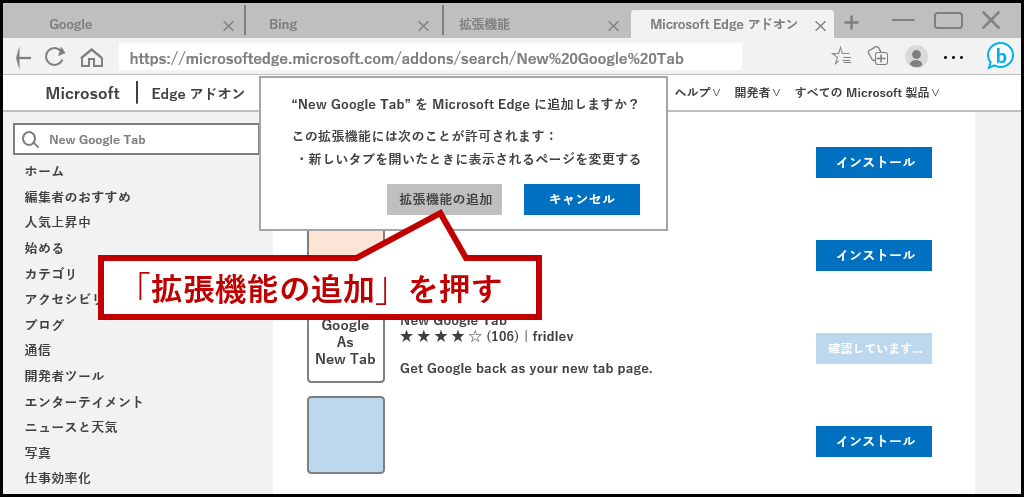
結果の一番上になければ下にスクロールして見付けて「インストール」を押す。
追加を許可するかどうか聞かれるので「拡張機能の追加」を押す。
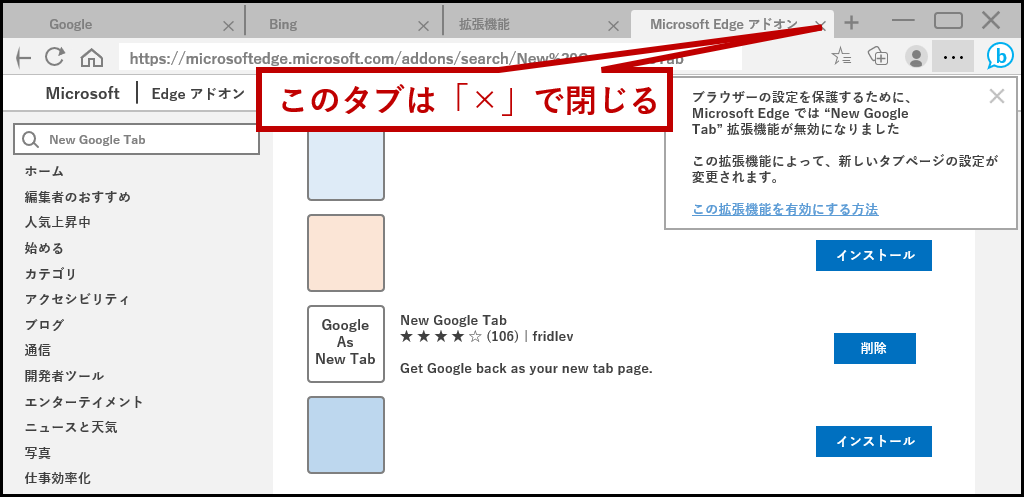
インストールはしたけど無効になってるよ、というメッセージが出るが無視して良い
この画面にもう用は無いのでタブを閉じる。
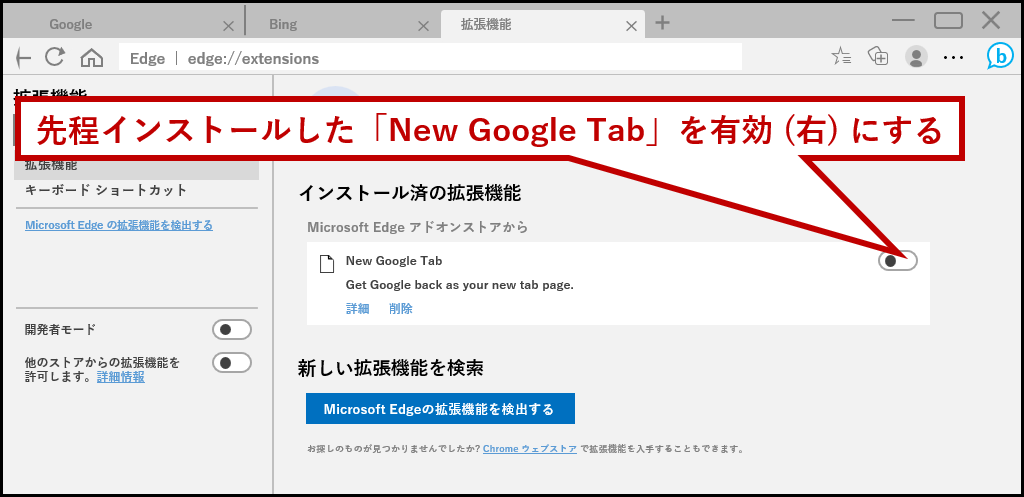
拡張機能の画面で、無効になっている「New Google Tab」を有効にする。
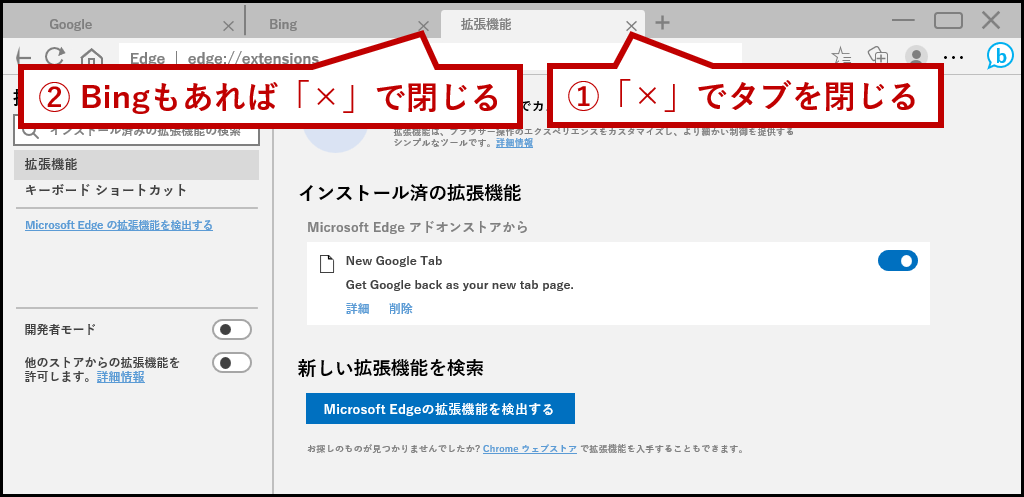
これでこの画面も閉じて良い。
(最初のGoogleのタブ以外は全部閉じる)
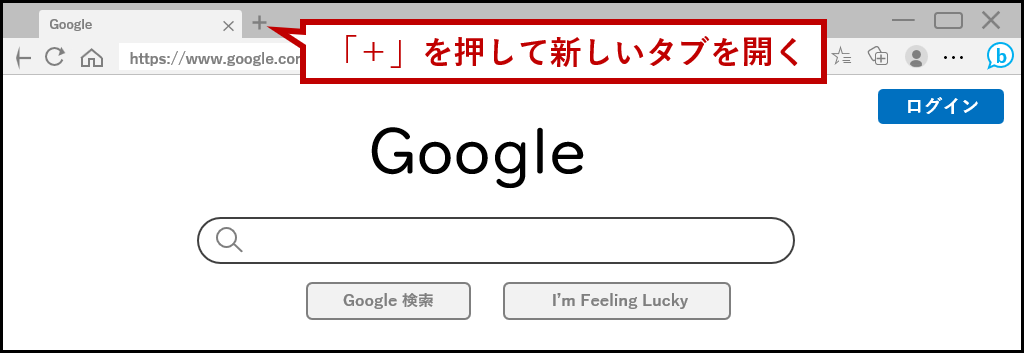
それでは早速「+」を試してみよう。
初回のみ「新しいタブがBing以外を開こうとしているがどうする?」という確認があるので「変更の維持」を押す。
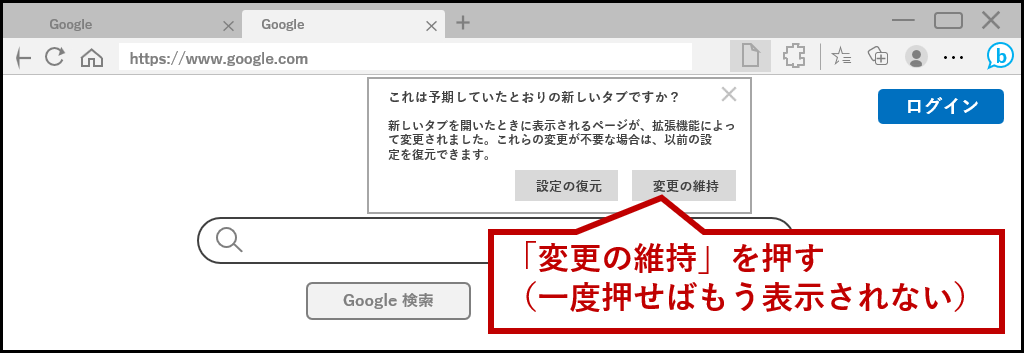
これで次から「+」を押すとGoogleのページが開くようになる。
拡張機能の削除
先ほど追加した「New Google Tab」を削除したくなった時の手順。
まずは「…」から「拡張機能」を押す。
ポップアップが出てくるので「拡張機能の管理」を押す。
あとは「削除」を押すだけ。
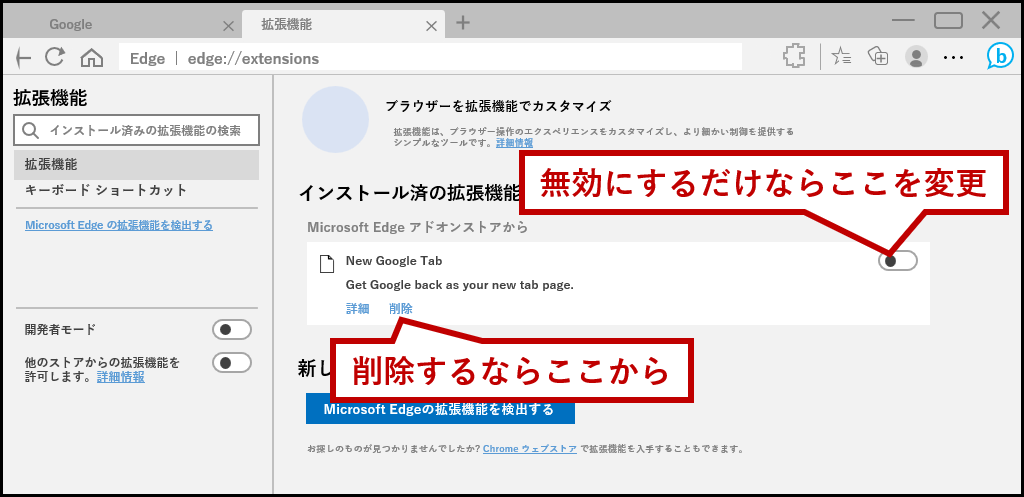
追加も削除も実に簡単。
Google以外が良い場合
例えばGoogleではなくYahoo!にしたい場合。
上記の設定画面の手順で「https://www.yahoo.co.jp/」を入力する。
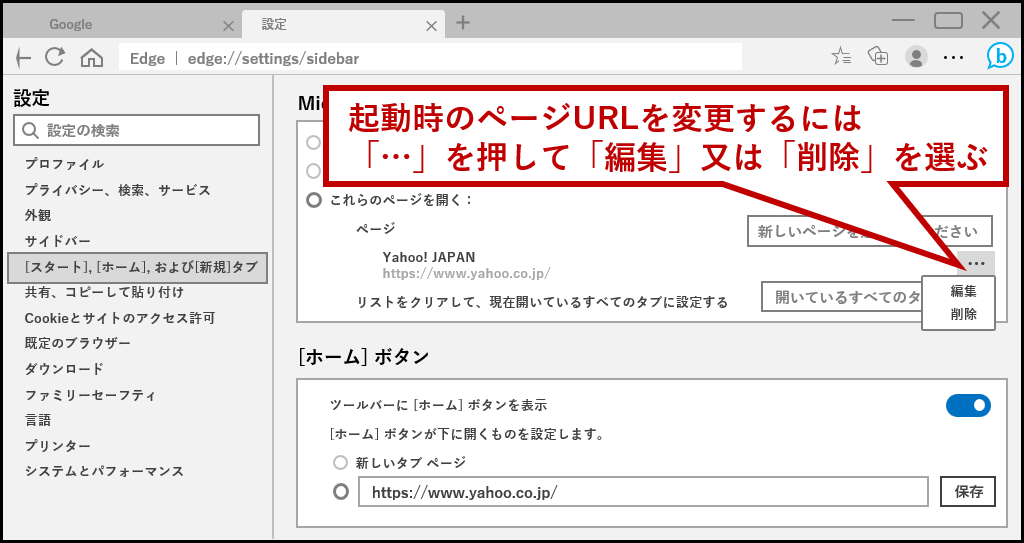
ちなみに既に登録されている起動ページURLを変えるなら「…」で操作を選ぼう。
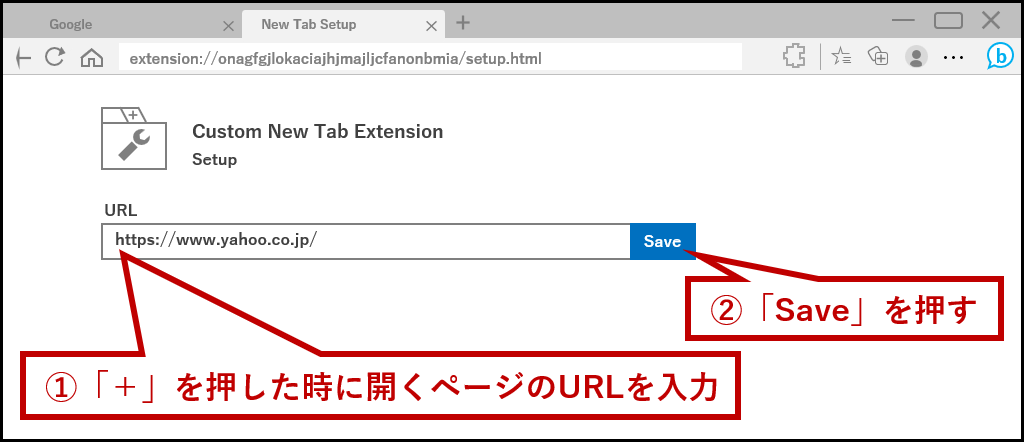
アドオンは「New Google Tab」ではなく「Custom New Tab」を選ぶと良い。
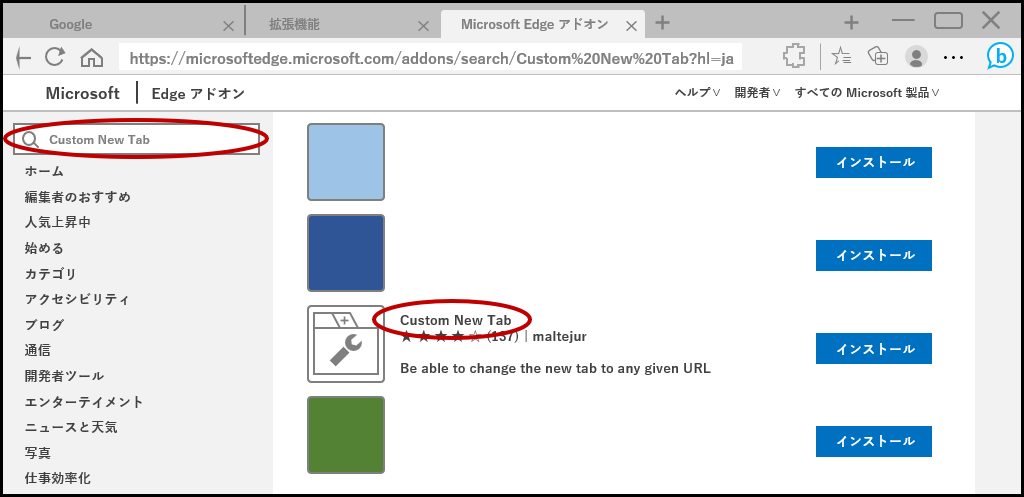
このアドオンは、最初に「+」で新しいタブを出した時にURLを設定できる。
ここで好きなURLを入れて「Save」すれば次からそのページが開く。
こちらのアドオンももちろん無料だ。
消すのは簡単なので、気になった人は実際に試して決めると良いだろう。